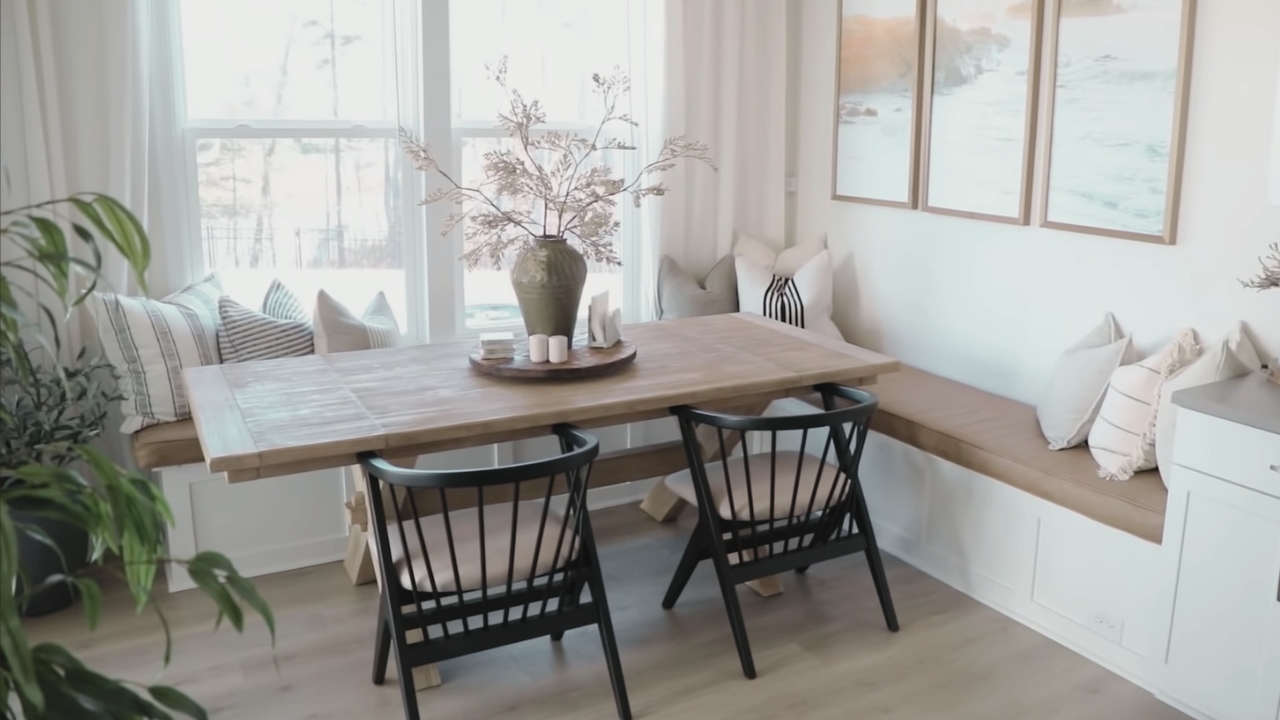
Building a cozy and functional kitchen banquette can really change up your dining space. It might seem like a big job, but with some planning, the right stuff, and a little effort, you can totally do it yourself.
I’ll walk you through it step by step and share some tips to make it easier.
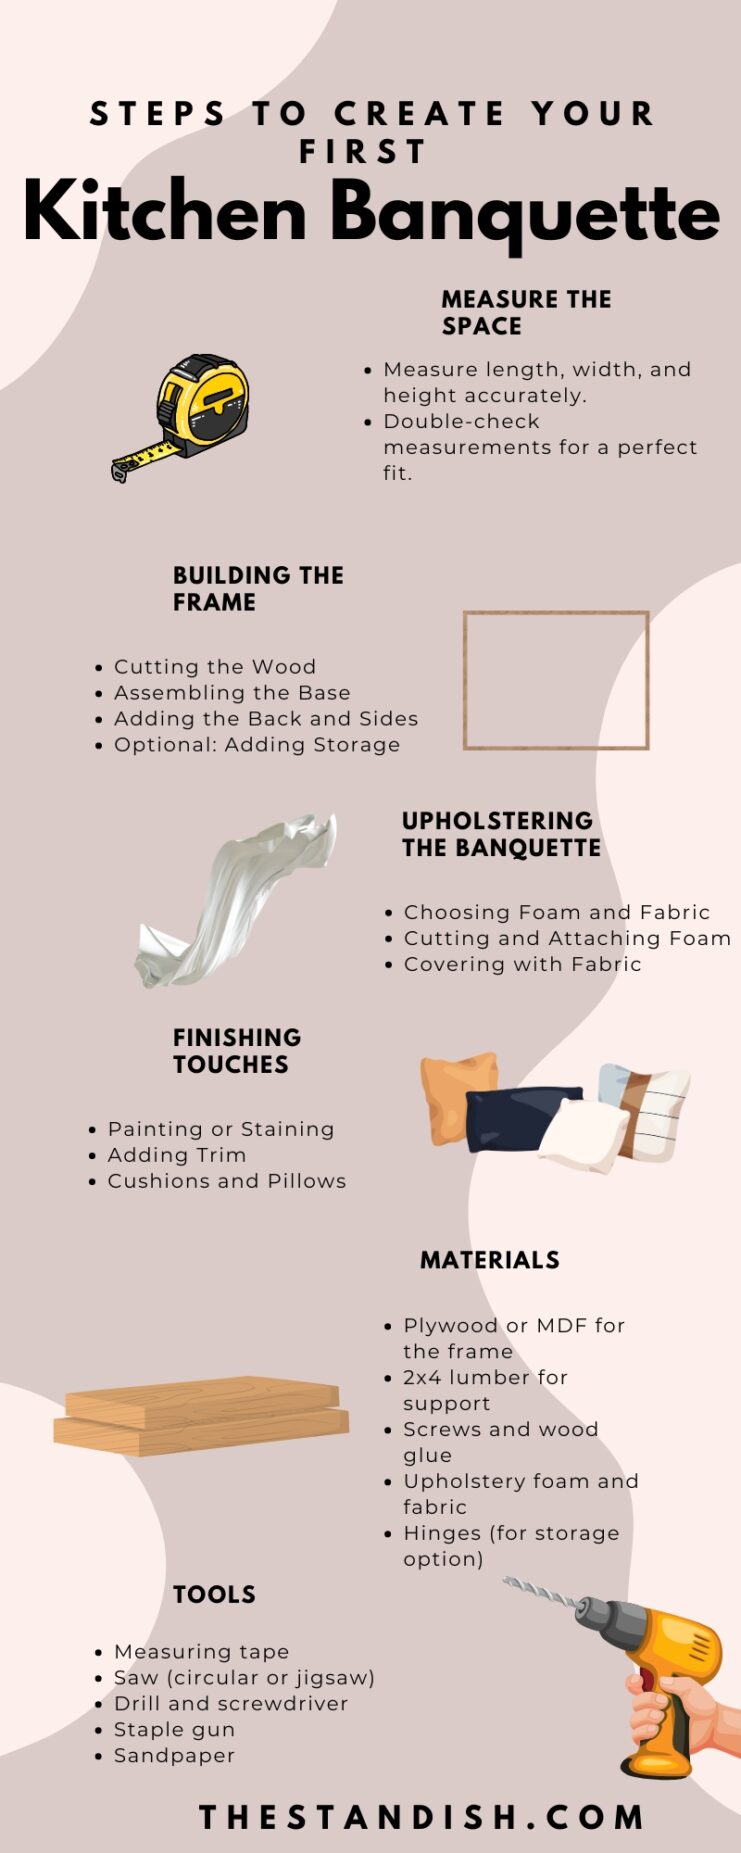
Measure the Space
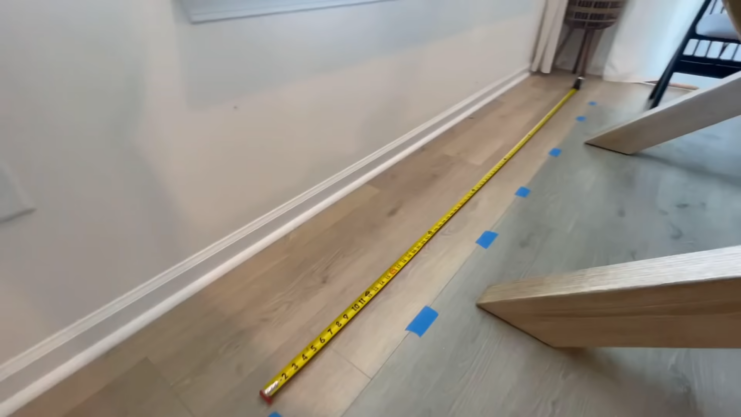
Start by measuring the area where you plan to build the banquette. Accurate measurements are crucial.
You’ll need to determine the length, width, and height. In my case, I measured twice to ensure everything would fit perfectly.
Design Considerations
Think about the design that best suits your space. Do you want a simple bench or one with storage underneath?
I opted for a storage bench to keep my kitchen tidy. Consider the height of the seat (usually around 18 inches) and the depth (typically 20 inches).
What Do You Need?

Make a list of materials and tools you’ll need. Common materials include:
- Plywood or MDF for the frame
- 2×4 lumber for support
- Screws and wood glue
- Upholstery foam and fabric
- Hinges (if you’re adding storage)
Tools you might need:
- Measuring tape
- Saw (circular or jigsaw)
- Drill
- Screwdriver
- Staple gun
- Sandpaper
Building the Frame
Cutting the Wood
- Begin by measuring and marking the wood according to the dimensions needed for the back, seat, and sides of your banquette. Double-check your measurements to ensure accuracy.
- Use a circular saw to cut the wood along the marked lines. A circular saw provides clean and precise cuts, making the assembly process easier.
- Always wear safety goggles and gloves while cutting to protect yourself from wood splinters and sawdust. Ensure the wood pieces are cut smoothly and free of any splinters.
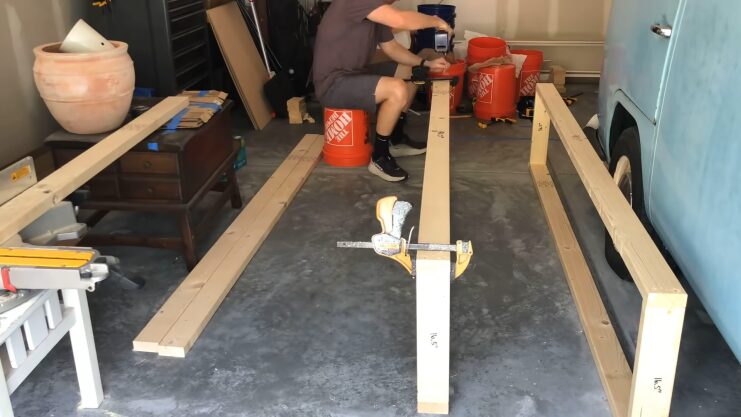
Assembling the Base
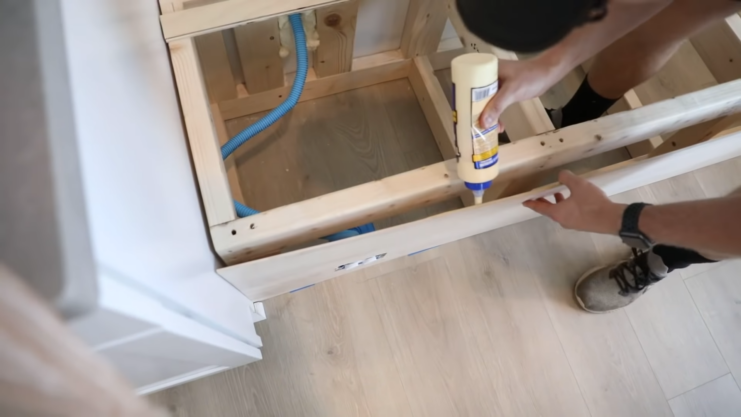
- Create the frame: Construct the base of your banquette using 2×4 lumber. Arrange the pieces on a flat surface to form a rectangular frame, ensuring all corners are square.
- Secure the joints: Apply wood glue to the joints and then screw the pieces together using wood screws. This ensures the frame is sturdy and can support the weight of people sitting on it.
- Check for levelness: Use a level to check that the frame is even on all sides. Adjust as needed to ensure a stable base. A level base is crucial for the stability and comfort of your banquette.
Adding the Back and Sides
- Position the back piece of plywood against the frame and secure it with wood screws. Make sure it is flush with the base to avoid any gaps.
- Attach the side pieces in the same manner, ensuring they are aligned properly with both the back and the base. Use additional screws for extra stability.
- Sand down any rough edges to prevent splinters. A smooth finish will not only look better but also be safer and more comfortable to use.
Adding Storage (optional)
If you’re adding storage, build a simple box inside the base using plywood. Measure the interior dimensions of the base and cut the plywood accordingly. Secure the sides of the box with wood screws and wood glue. Make sure there is enough space for the seat to open and close without obstruction.
Add support beams inside the box if needed to ensure it can hold the weight of stored items. This step is crucial for long-term durability.
Installing Hinges
- Attach hinges to the seat: Fix the hinges to the back edge of the seat piece. Ensure they are evenly spaced for balanced support.
- Secure hinges to the storage box: Attach the other side of the hinges to the top edge of the storage box. This will allow the seat to lift smoothly.
- Test the movement: Open and close the seat a few times to ensure it moves freely and the hinges are securely fastened. Adjust if necessary to achieve a smooth operation.
Upholstering the Banquette
Choosing Foam and Fabric
Choose a high-density foam for durability and comfort. Measure the foam to match the dimensions of the seat and backrest.
When it comes to fabric, select the one that complements your kitchen’s style and is easy to clean. Consider fabrics that are durable and stain-resistant for long-term use.
Additional tip: Buy a little extra fabric to account for any mistakes during cutting or attaching. It’s always better to have a bit more than to run short.
Cutting and Attaching Foam
Lay the foam on a flat surface and cut it to fit the seat and backrest dimensions. Use a sharp knife or electric knife for clean, straight cuts. Spray adhesive onto the wood surface and press the foam firmly onto it.
Make sure the foam is securely attached and covers the entire area. Let the adhesive dry completely before moving on to the next step. This ensures the foam will stay in place during the upholstery process.
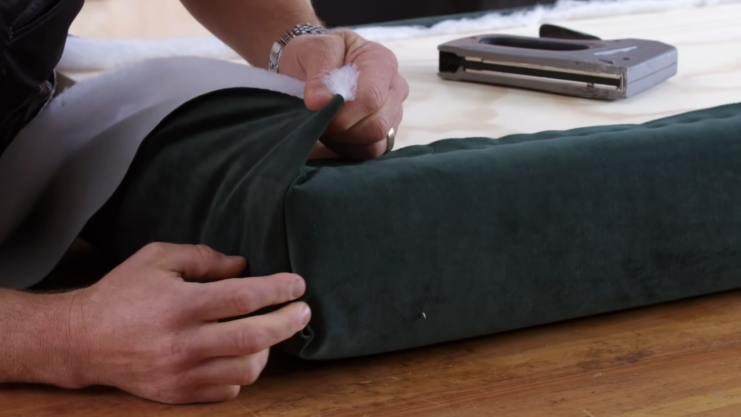
Covering with Fabric
- Lay the fabric over the foam, ensuring it covers all sides with enough excess to staple underneath. Smooth out any wrinkles or folds.
- Starting from the center and working outwards, staple the fabric to the wood frame. Pull the fabric tight as you go to avoid any slack or wrinkles.
- Trim any excess fabric and secure any loose ends with additional staples. Check for a neat finish and ensure the fabric is tightly secured all around.
Finishing Touches
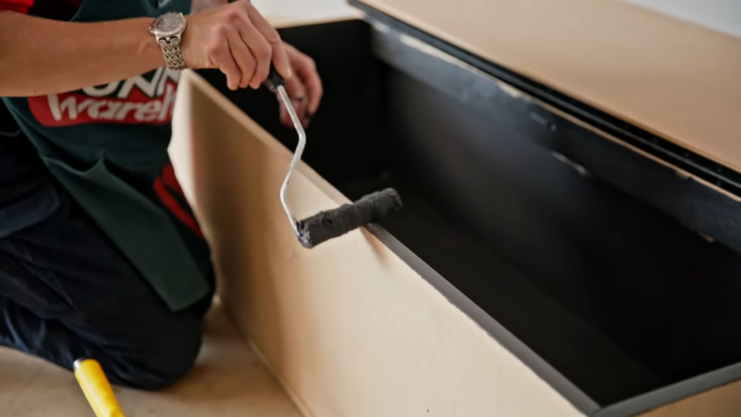
Painting or Staining
Once the upholstery is done, you can paint or stain any visible wood to match your kitchen décor. I chose a rich walnut stain to complement my kitchen cabinets.
Adding Trim
For a polished look, add trim around the edges of the banquette. This can hide any gaps and give your banquette a professional finish. I used decorative molding that matched my kitchen’s aesthetic.
Cushions and Pillows
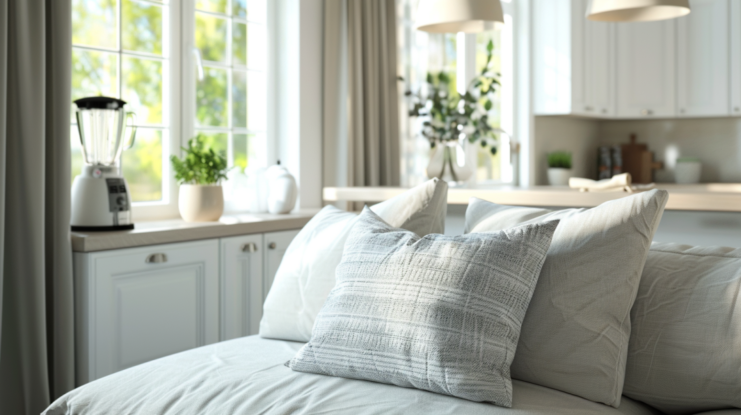
Finally, add some cushions and pillows for extra comfort and style. Choose colors and patterns that enhance the overall look of your kitchen. I selected a mix of solid colors and subtle patterns that tied everything together beautifully.
All in All…
I had a blast building my banquette and was thrilled with how it transformed my kitchen. The extra storage and cozy seating have made it everyone’s favorite spot for family gatherings and casual meals.
Don’t be scared to take on this project— with a little patience and effort, you can create a stunning and functional banquette that will become the heart of your kitchen.