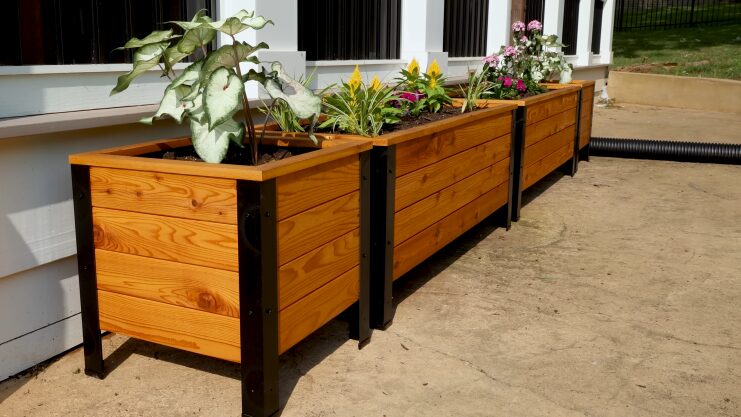
Creating a garden planter is a satisfying and rewarding project. It provides a unique way to grow plants, flowers, and even vegetables at home.
Follow this guide to build your own garden planter. The process is straightforward and enjoyable, even for beginners.
Materials and Tools
Before starting, gather all the necessary materials and tools. Here is what you need:
- Wooden boards (cedar or redwood works well)
- Screws
- Drill
- Saw
- Measuring tape
- Sandpaper
- Wood glue
- Paint or stain (optional)
- Potting soil
- Plants or seeds
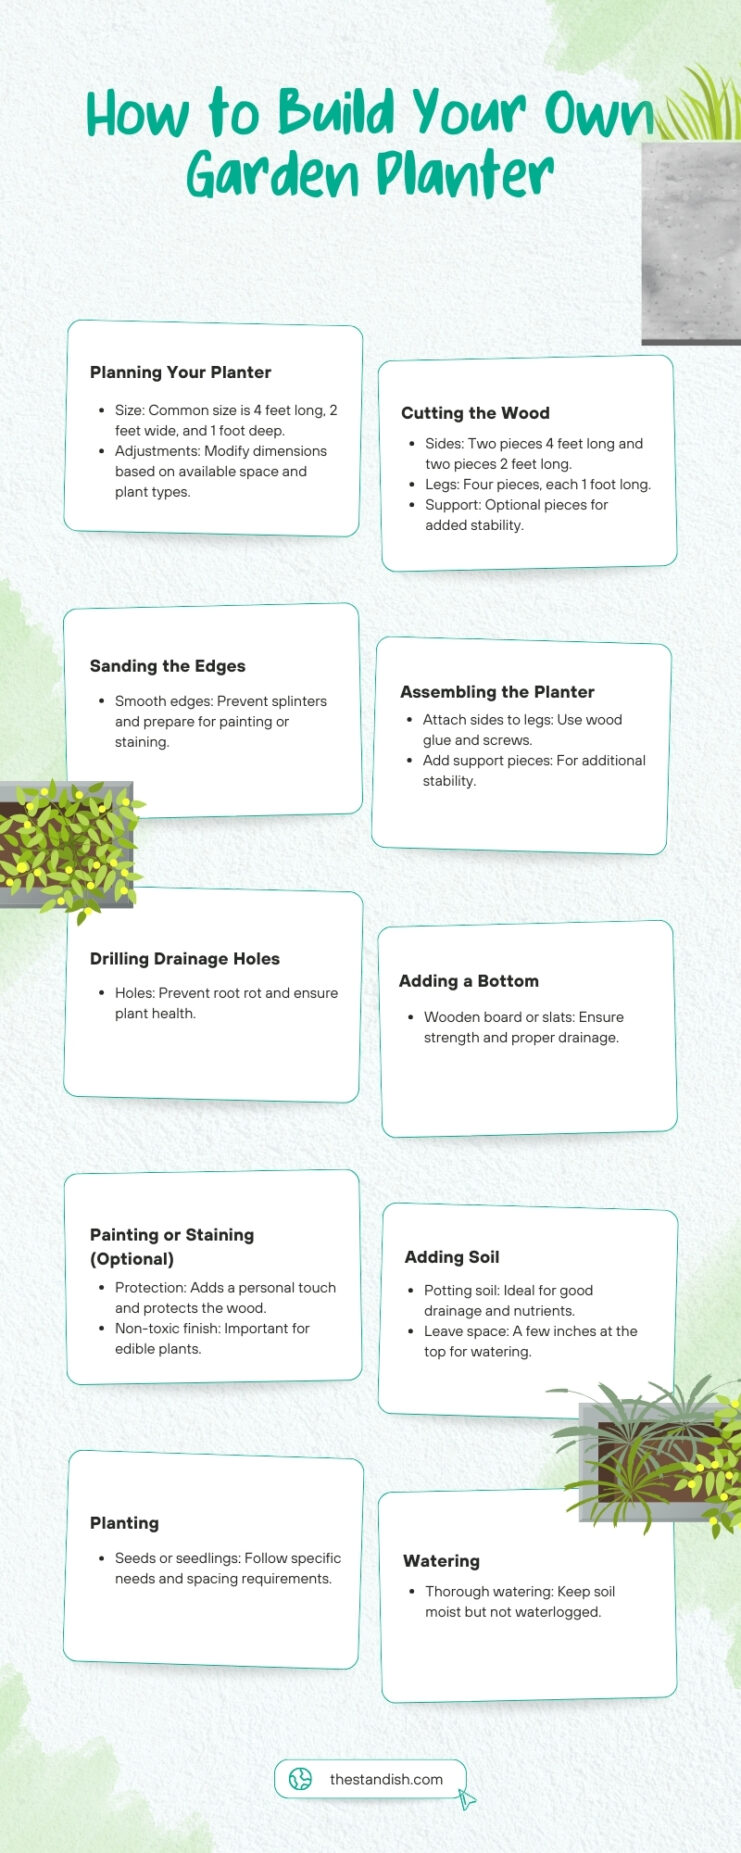
Planning Your Planter
First, decide on the size of your planter. A common size is 4 feet long, 2 feet wide, and 1 foot deep. This size provides enough space for a variety of plants while being manageable. Also, the size can be adjusted based on the space available and the types of plants you wish to grow.
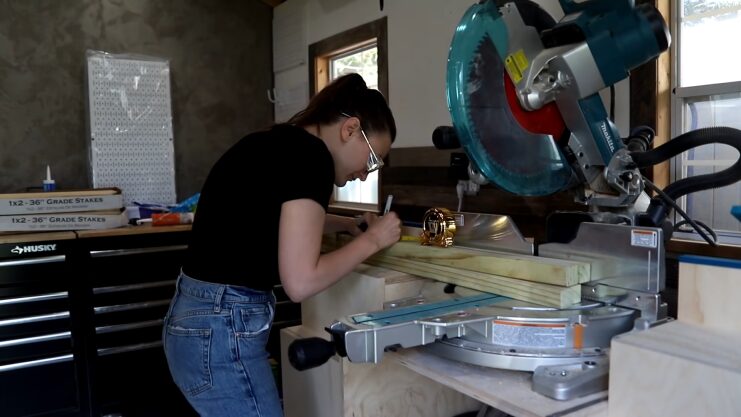
Cutting the Wood

For a 4×2 planter, you will need:
- Four pieces for the sides (two 4 feet long and two 2 feet long)
- Four pieces for the legs (1 foot each)
- Optional: Additional pieces for support (cut to fit inside the box)
Sanding the Edges
After cutting, sand the edges of the wood to remove splinters and rough spots. Smooth edges make assembly easier and safer.
Sanding also prepares the wood for painting or staining, ensuring a better finish. Use sandpaper with fine grit for the best results.
Assembling the Planter
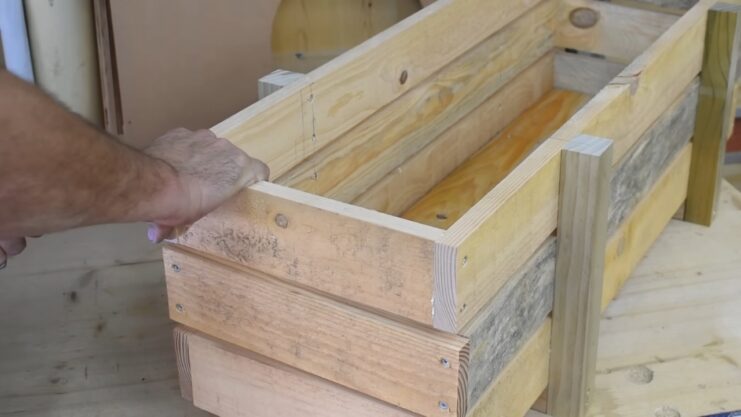
Start by attaching the sides to the legs. Use wood glue for extra strength, then secure with screws. Make sure the corners are square and aligned. This step ensures the stability and durability of the planter.
If you have extra support pieces, attach them now inside the box for added stability. These supports can help the planter hold more weight, especially if you plan to grow heavy plants.
Drilling Drainage Holes
Drill several holes in the bottom of the planter to allow water to drain. Proper drainage prevents root rot and keeps plants healthy.
Without drainage, excess water can accumulate, leading to unhealthy plants. Space the holes evenly to ensure consistent drainage across the entire planter.
Adding a Bottom
For the bottom of the planter, use a wooden board or slats spaced slightly apart. Attach securely with screws. Ensure the bottom is strong enough to hold soil and plants. If using slats, leave small gaps between them to allow for additional drainage.
A solid bottom board can be drilled with extra holes to improve water flow.
Painting or Staining (Optional)
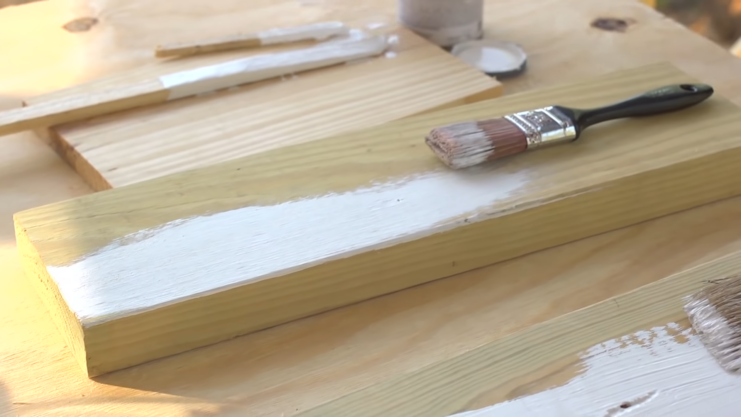
If desired, paint or stain the planter. This step adds a personal touch and protects the wood from weather. Use a non-toxic finish if you plan to grow edible plants. Choose a color or finish that complements your outdoor decor.
Apply multiple coats for the best protection, allowing each coat to dry completely before adding the next.
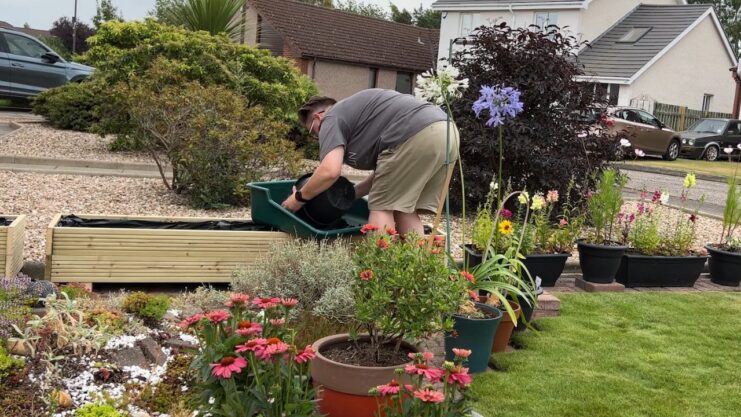
Adding Soil
Fill the planter with potting soil. Leave a few inches at the top to prevent overflow when watering. Choose soil that suits the plants you intend to grow. Potting soil is ideal because it drains well and contains nutrients that plants need.
Avoid using garden soil, which can compact and hinder plant growth.
Planting
Plant your seeds or seedlings according to their specific needs. Space them appropriately to allow for growth. Follow the instructions on seed packets or plant labels for best results. Different plants have different spacing requirements to thrive.
Make small holes in the soil for seeds or seedlings, cover gently, and water thoroughly.
Watering
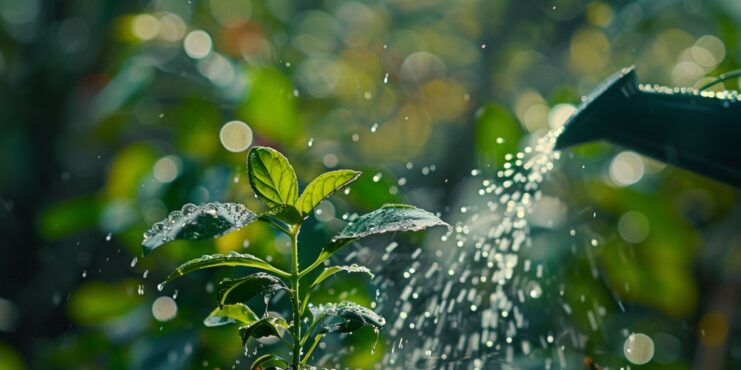
Water the plants thoroughly after planting. Keep the soil moist but not waterlogged. Adjust watering based on weather conditions and plant needs. Regular watering is essential, especially during the first few weeks when plants are establishing roots.
Check the soil moisture regularly to avoid over or under-watering.
Maintenance
Regular maintenance ensures a healthy planter. Remove weeds, check for pests, and prune plants as needed. Add mulch to retain moisture and reduce weeds. Mulch also helps maintain a consistent soil temperature.
Fertilize your plants as recommended for the specific types you are growing. Monitor for signs of nutrient deficiency and adjust care accordingly.
Seasonal Care
Seasonal care is important for long-term success. In spring, prepare your planter by adding fresh soil and compost.
In summer, provide shade for sensitive plants during peak heat. In fall, clean up fallen leaves and debris to prevent disease.
Regular seasonal maintenance helps ensure your home and garden remain in optimal condition year-round.
During winter, protect your planter from freezing temperatures by moving it indoors or covering it with burlap or a similar material.
Common Issues and How to Deal With Them
Several common issues can arise with garden planters.
Here are some tips that can help:
- Overwatering: Ensure proper drainage and avoid watering too often.
- Underwatering: Check soil moisture regularly and water as needed.
- Pests: Use natural pest control methods, such as neem oil or insecticidal soap.
- Nutrient Deficiency: Use a balanced fertilizer and monitor plant health.
- Disease: Remove affected plants and improve air circulation around the planter.
Benefits of Building Your Own Planter
Building your own garden planter has many benefits. It allows you to customize the size and design to fit your space. You can choose high-quality materials to ensure durability.
Growing plants in a planter also reduces the risk of soil-borne diseases and pests. It provides a contained environment for better control over soil quality and watering.
Additional Tips
- Location: Choose a sunny spot for most plants, as they need at least 6 hours of sunlight per day.
- Soil: Use high-quality potting soil and consider adding compost for extra nutrients.
- Watering: Water deeply but less frequently to encourage strong root growth.
- Companion Planting: Grow plants with similar needs together to simplify care.
- Rotation: Rotate plants seasonally to avoid depleting soil nutrients.
Choosing Plants for Your Planter

Select plants that are suitable for your climate and the amount of sunlight your planter will receive. Some popular choices include:
- Herbs: Basil, parsley, thyme, and rosemary
- Vegetables: Tomatoes, peppers, lettuce, and radishes
- Flowers: Petunias, marigolds, and geraniums
- Succulents: Aloe vera, sedum, and echeveria
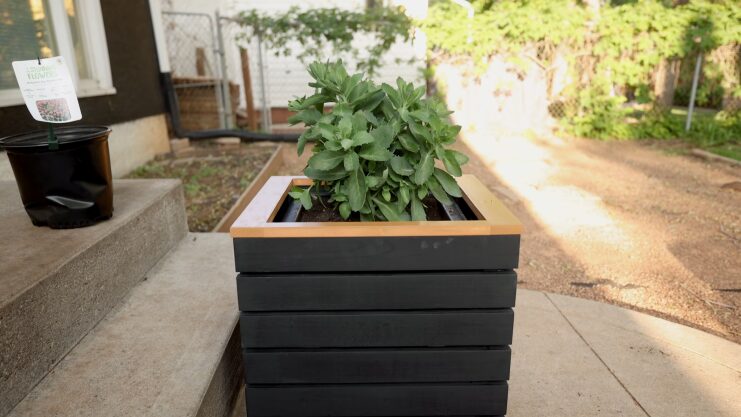
Advantages of Raised Planters
Raised planters offer several advantages over traditional in-ground gardening:
- Accessibility: Easier on the back and knees, making gardening more accessible for everyone.
- Soil Control: Better control over soil quality and composition.
- Pest Control: Reduced risk of pests such as slugs and snails.
- Weed Control: Fewer weeds to manage.
Eco-Friendly Gardening
Consider eco-friendly practices when building and maintaining your planter:
- Recycled Materials: Use reclaimed wood or other recycled materials for your planter.
- Organic Soil: Choose organic potting soil and compost.
- Natural Pest Control: Use natural methods to manage pests and avoid chemical pesticides.
- Water Conservation: Use a drip irrigation system or water early in the morning to reduce evaporation.
Final Thoughts
Building your own garden planter is a simple and enjoyable project. It allows you to grow your favorite plants and adds beauty to your outdoor space. With these steps, you can create a functional and attractive planter that will last for years.
Enjoy the process and the results of your effort. Gardening is a wonderful way to connect with nature, relax, and reap the rewards of your hard work.