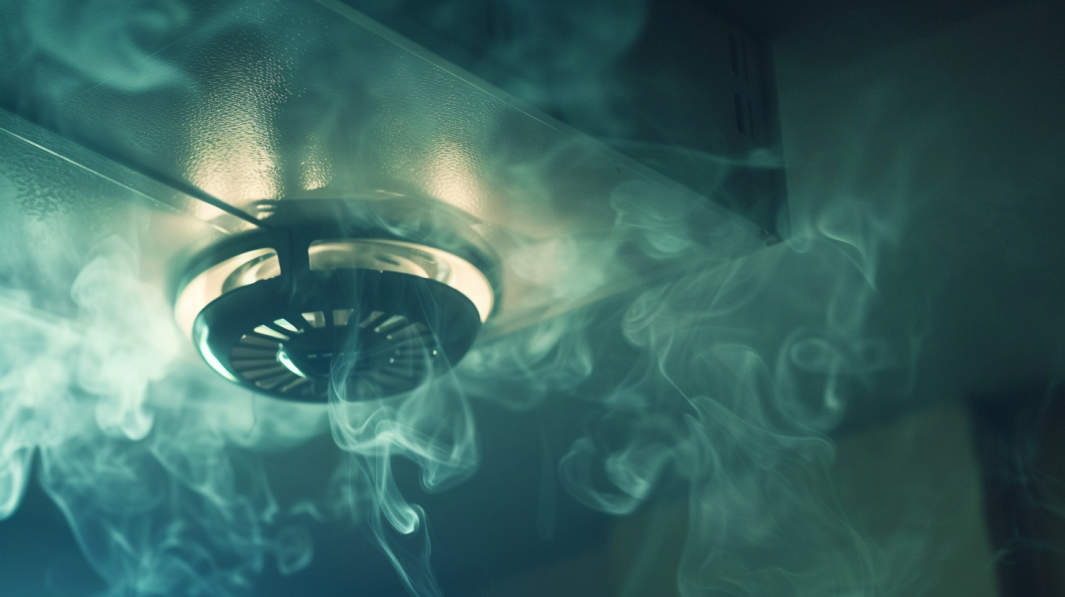
Imagine you’re fast asleep when suddenly, the smell of smoke jolts you awake. You’re disoriented, and every second counts. In that crucial moment, a working smoke alarm can save your life. Yet, many of us forget to test them regularly. Why is that the case?
Let’s make sure we’re not one of those people. Here’s how to test your smoke alarm today and stay safe.
When to Test Your Smoke Alarms
To ensure your smoke alarms are functioning correctly:
- Monthly testing: Test your alarms once a month. This routine helps catch any issues early, ensuring your alarms are always ready. Regular testing can also familiarize your family with the sound, reducing panic in an actual emergency.
- Battery replacement: Change batteries at least once a year. Even if your alarm uses a long-life battery, it’s wise to check and replace it annually. Some alarms emit a chirping sound when batteries are low, indicating it’s time for a change.
- Alarm replacement: Replace smoke alarms every 10 years or according to manufacturer instructions. Over time, the sensors in smoke alarms can become less sensitive. Regular replacement ensures your alarms are using the latest technology and remain effective.
Tools You Need
Testing your smoke alarms doesn’t require specialized tools. Here’s what you need:
- A step ladder or sturdy chair: To safely reach the alarm. Stability is crucial to avoid accidents while testing high-placed alarms. Ensure the ladder or chair is positioned on a flat, stable surface.
- A can of smoke detector test aerosol (optional but effective): This simulates smoke and provides a more realistic test. It’s a useful tool for checking the alarm’s response to smoke. Follow the manufacturer’s instructions for proper use.
- Fresh batteries (if your alarm is battery-operated): Always have fresh batteries on hand. Regular replacement ensures your alarm is powered and ready to function. Use the recommended battery type for your specific alarm model.
It’s always a good idea for homeowners to have these tools, along with other essentials like a basic toolkit, to handle minor home maintenance tasks efficiently.
Step-by-Step Guide to Testing Your Smoke Alarms
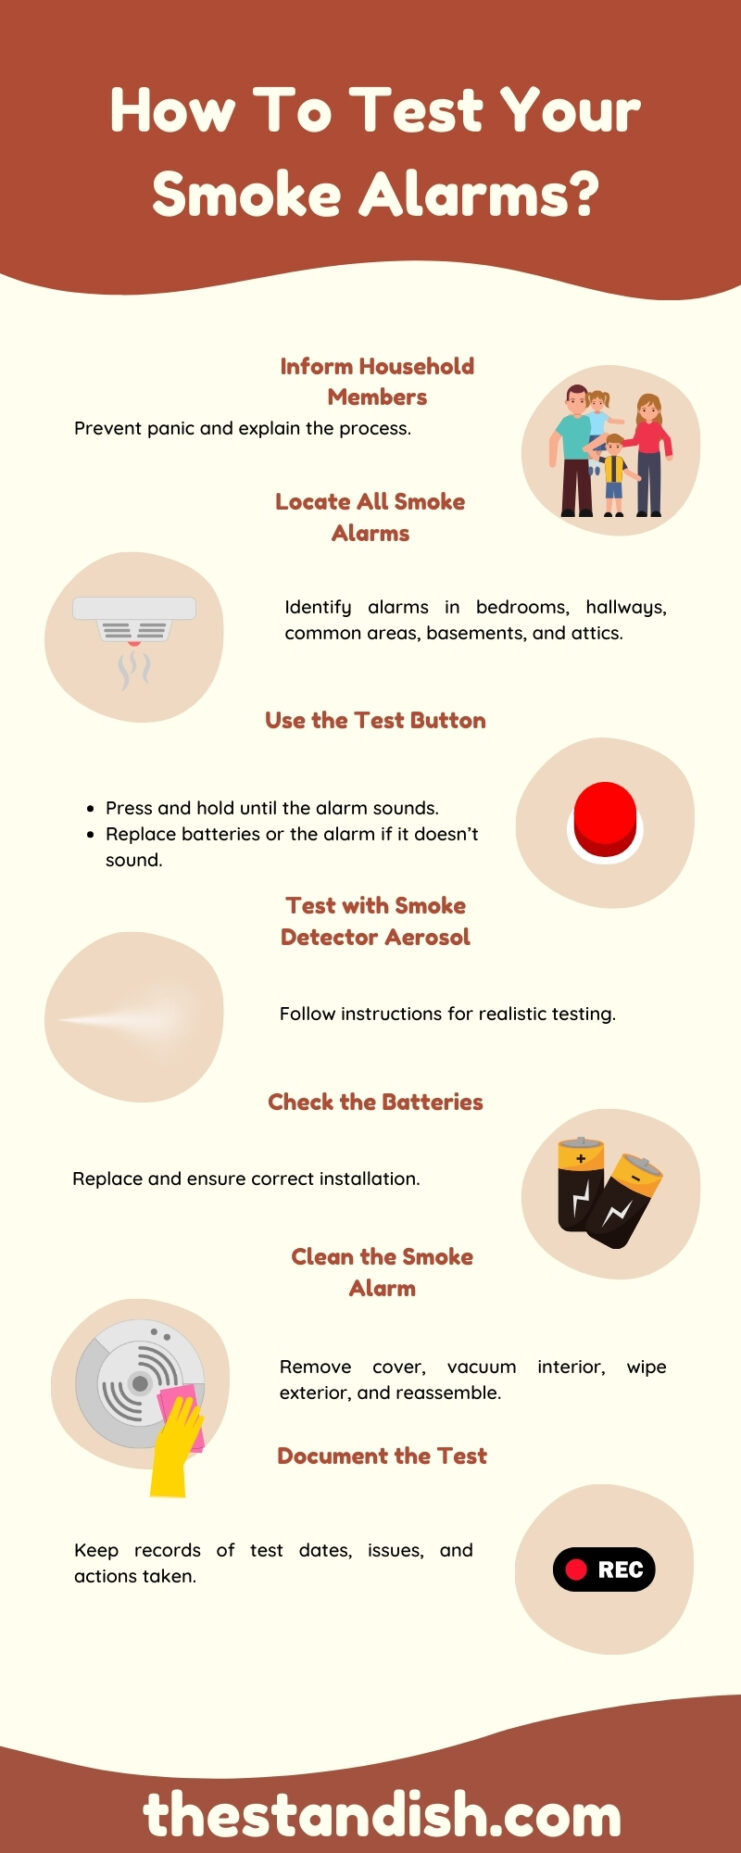
Step 1: Inform Household Members
Before testing, inform everyone in the household to avoid unnecessary panic. This step is crucial to prevent accidental distress or confusion.
Explain the testing process, especially to children, so they understand it’s just a drill. This also serves as a good opportunity to educate them about fire safety.
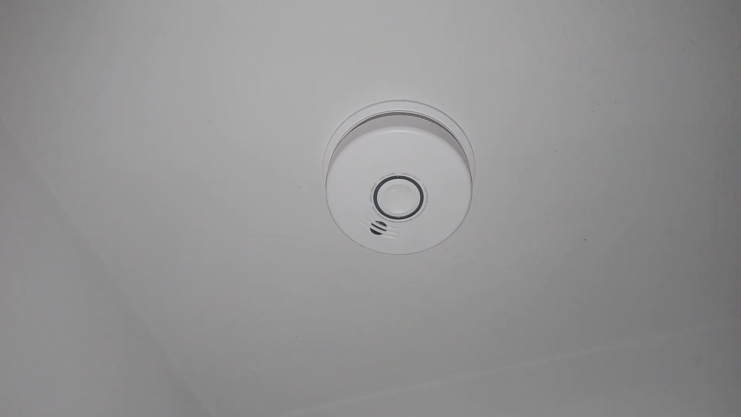
Step 2: Locate All Smoke Alarms
Identify all smoke alarms in your home. Typically, alarms are installed in bedrooms, hallways, and common areas. Make sure you don’t miss any.
Knowing their exact locations ensures you test each one systematically. Check all levels of your home, including basements and attics.
Step 3: Use the Test Button
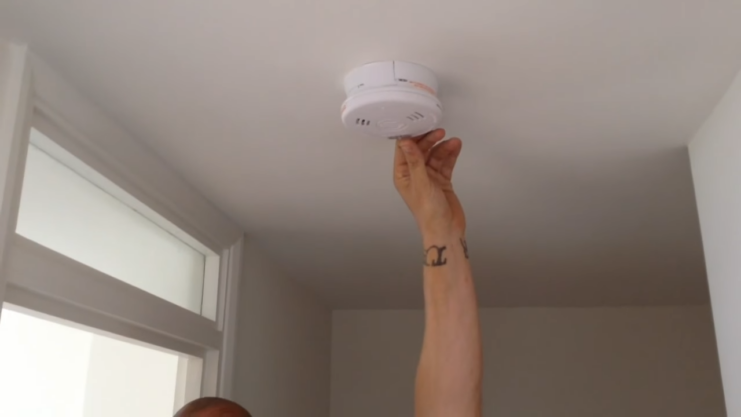
Position yourself safely under the smoke alarm. Ensure the ladder or chair is stable to prevent falls. Press and hold the button on the smoke alarm.
The alarm should emit a loud, piercing sound. This indicates the battery and circuitry are functioning. Hold the button for a few seconds to ensure the alarm sounds continuously.
If the alarm sounds, release the button. Suppose it doesn’t replace the batteries and test again. If it still doesn’t work, replace the alarm. Persistent silence could indicate a malfunction that testing can identify early.
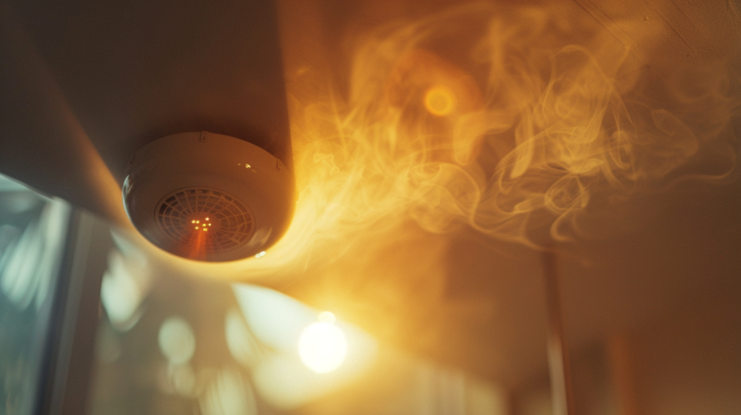
Step 4: Test with Smoke Detector Aerosol (optional)
Follow the aerosol manufacturer’s instructions. Proper use ensures an accurate test without damaging the alarm. Spray a small amount of the test aerosol near the smoke alarm.
The alarm should sound within a few seconds. This simulates real smoke conditions, providing a realistic test of the alarm’s sensitivity.
After testing, ventilate the area to clear the aerosol. Open windows or use fans to disperse the test aerosol quickly. This prevents lingering particles from causing false alarms.
Step 5: Check the Batteries
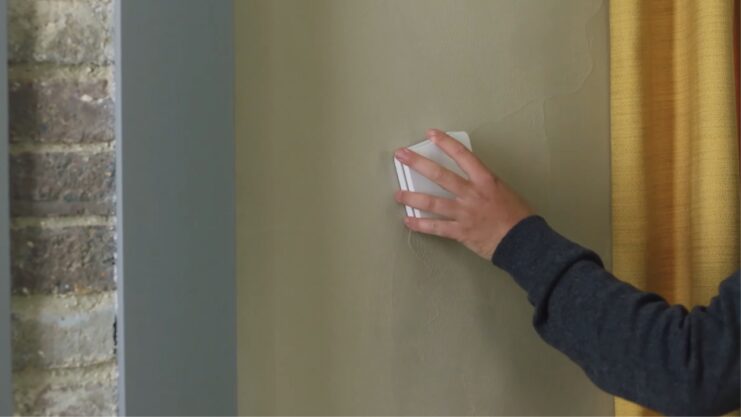
If your alarm is battery-operated, remove it from its mounting bracket. Handle the alarm gently to avoid damage. Insert fresh batteries, ensuring correct polarity. Incorrectly installed batteries can prevent the alarm from functioning.
Always check the battery orientation. Mount the alarm back in place and test it again using the test button. Ensuring the alarm is securely attached helps it function correctly in case of an actual fire.
Step 6: Clean the Smoke Alarm
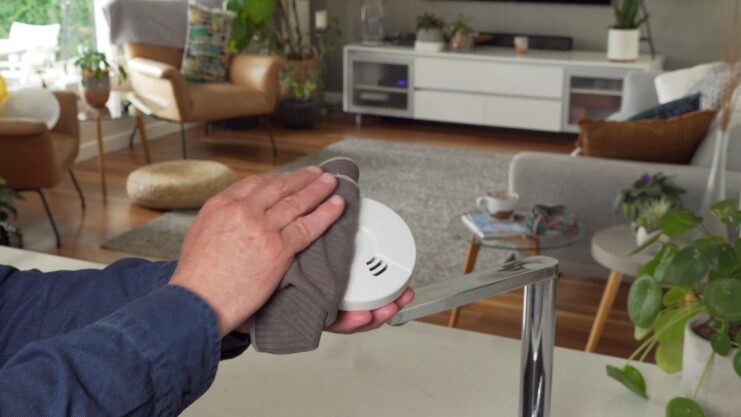
Dust and debris can affect the alarm’s performance:
- Remove the cover: Gently remove the alarm’s cover. Be careful not to damage the sensors or other internal components.
- Vacuum the interior: Use a soft brush attachment to clean the inside. This removes dust that can interfere with the alarm’s sensors. Regular cleaning helps maintain the alarm’s sensitivity.
- Wipe the exterior: Use a damp cloth to clean the outside of the alarm. Avoid using harsh chemicals that can damage the plastic or sensors.
- Reassemble: Put the cover back on and ensure it’s securely in place. Proper reassembly ensures the alarm will work as intended. Test the alarm after cleaning to ensure it functions correctly.
Step 7: Document the Test
Keep a record of your smoke alarm tests. Note the date, any issues found, and actions taken.
This helps track maintenance and ensures you don’t miss a test. A documented history can be useful during home inspections or if you need to make an insurance claim related to a fire.
3 Common Issues

1. The Alarm Doesn’t Sound
If the alarm doesn’t sound during the test check the batteries. Ensure they are fresh and correctly installed.
Old or improperly installed batteries are a common cause of malfunction. Also, clean the alarm as dust can block sensors. Dust can accumulate inside the alarm, reducing its sensitivity.
If it still doesn’t work, it’s time for a new one. Alarms have a limited lifespan and should be replaced as needed to ensure safety.
2. Frequent False Alarms
Frequent false alarms can be annoying and cause complacency. Ensure the alarm is not near cooking appliances or bathrooms where steam can trigger it.
Heat and steam can mimic smoke, causing false alarms. In addition, dust and insects can cause false alarms. Regular cleaning helps prevent these issues.
Persistent false alarms may indicate a malfunctioning unit. If cleaning and relocation don’t help, consider replacing the alarm.
3. The Alarm Beeps Intermittently
Intermittent beeping usually indicates a low battery or an end-of-life warning. If the beeping continues, replace the batteries. Regular battery replacement prevents low battery warnings.
Some alarms beep to signal they need replacement. Follow the manufacturer’s guidelines to ensure your alarms are up to date.
Safety Tips!
- Interconnect alarms: If one alarm sounds, all should sound. This ensures early warning throughout the home. Interconnected alarms provide a comprehensive alert system.
- Install alarms on every level: Place alarms on every level of your home, including basements and attics. This maximizes coverage and ensures early detection.
- Test after power outages: Test your alarms after power outages to ensure they still work. Power surges can affect alarm functionality.
- Develop a fire escape plan: Regularly practice your fire escape plan with all household members. Familiarity with escape routes can save lives during an emergency.
In Summary
Testing your smoke alarms might seem like a small task, but it’s super important. It makes sure your first line of defense against fire is ready to protect you and your loved ones.
Including this in your seasonal home maintenance checklist ensures you don’t overlook it. By following these steps, you can rest easy knowing your home is safer.