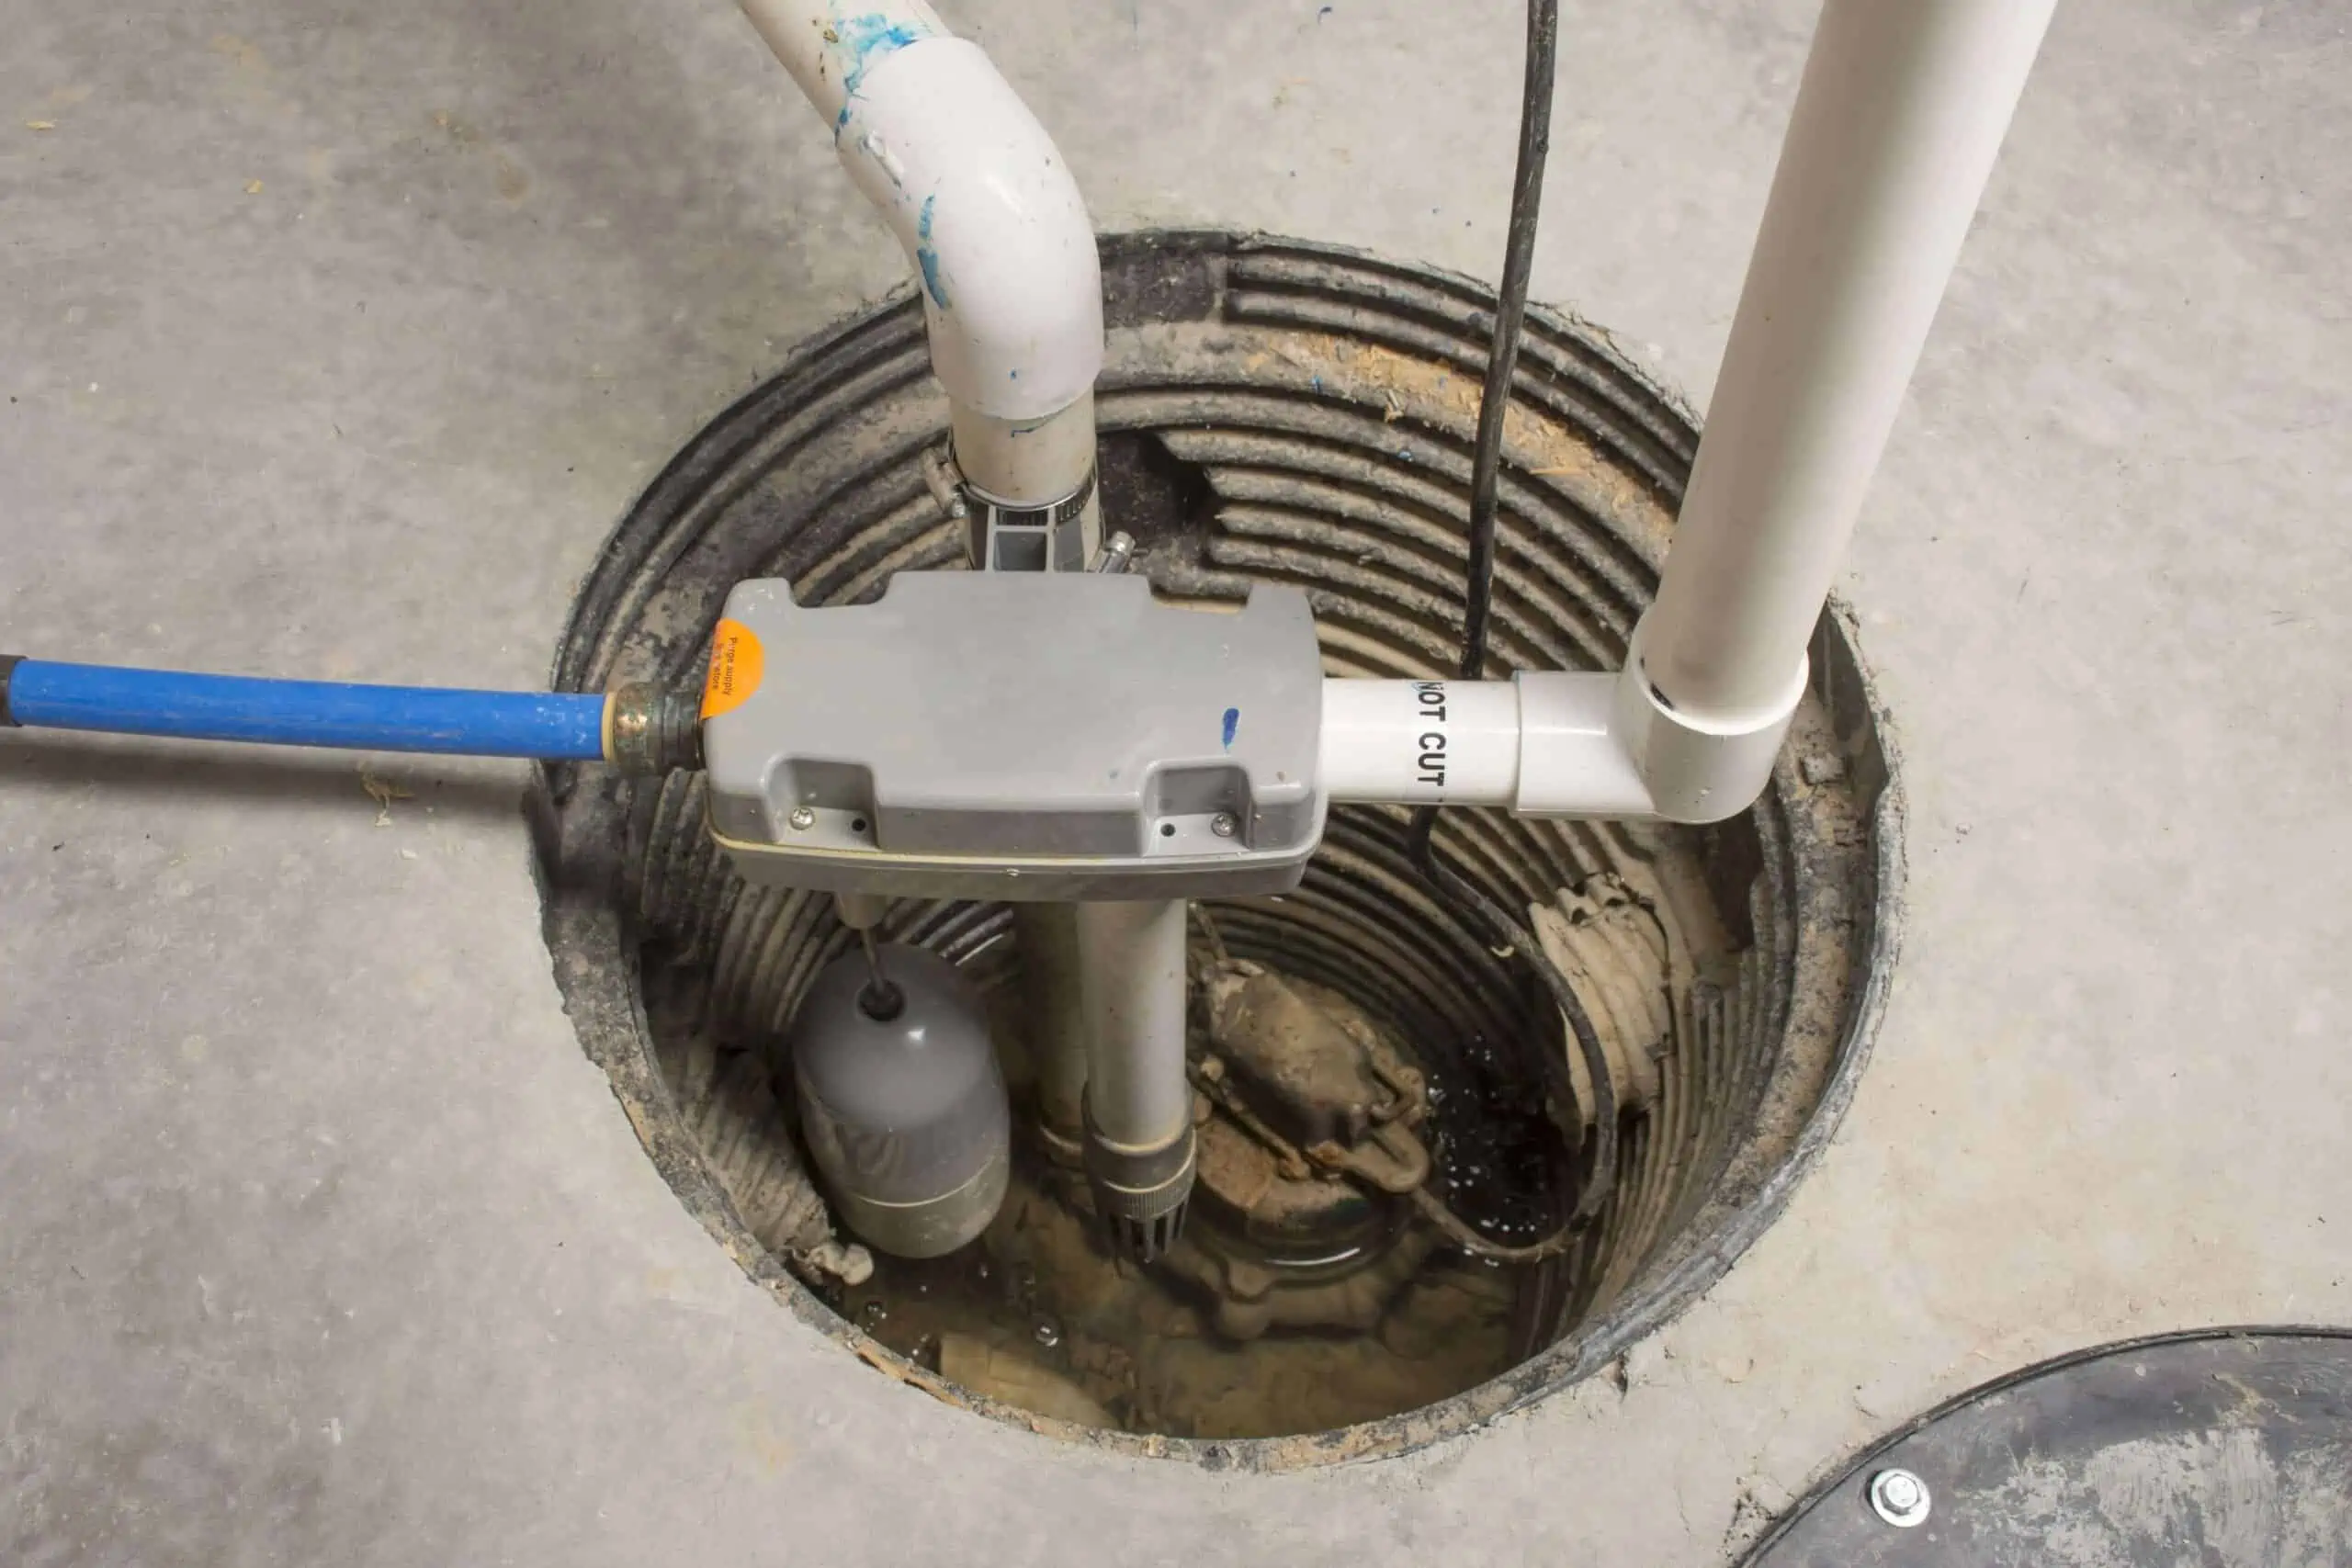
Ever had a basement flood? If not, consider yourself lucky. For those of us who’ve experienced it, the aftermath is a nightmare. The hero in this situation? A sump pump.
It is THE unit that works tirelessly to keep water at bay. It deserves some love and attention to keep doing its job. With that said, let’s cut straight to the point on how to check and maintain your sump pump.
Where’s the Sump Pump?
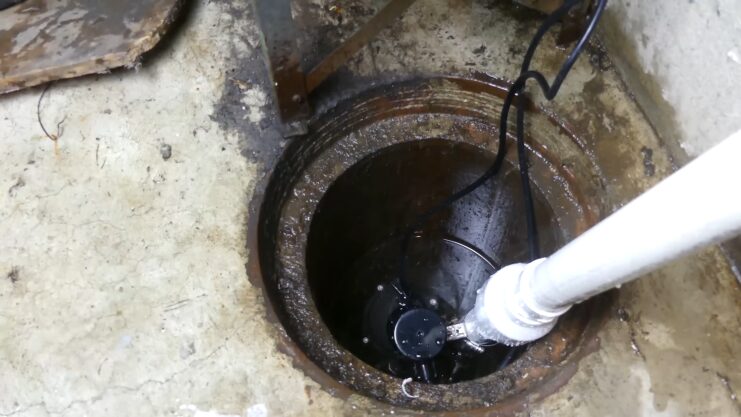
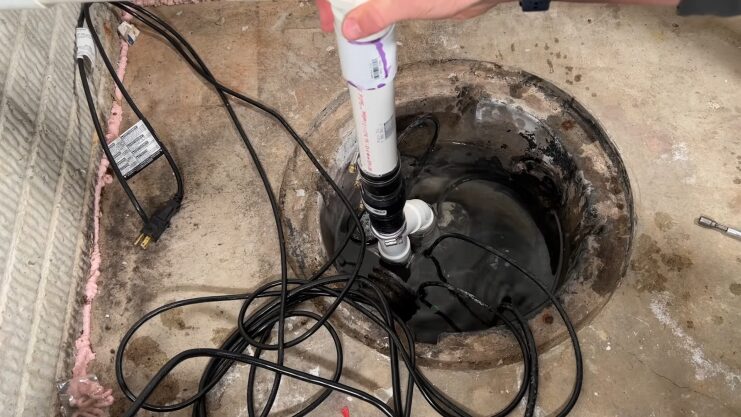
When trying to find your sump pump, I’d recommend checking the basement or crawl space. That’s typically where you’ll find it – there should be a hole in the floor with a piece of machinery situated right over it.
If you don’t spot it there, it’s possible you don’t have a sump pump installed, which could potentially be an issue that needs addressing.
Test the Pump Yearly, or Else
I make sure to test my sump pump at least once a year, usually before the big storms hit. It’s a pretty straightforward process – I just pour a good amount of water into the sump pit and watch the pump kick into gear.
If it starts doing its thing and pumping out the water, I know everything’s working as it should. But if the pump doesn’t activate, then I know I’ve got some issues that I need to take care of. It’s a simple test but an important one.
Do the Cleaning Thoroughly and Carefully
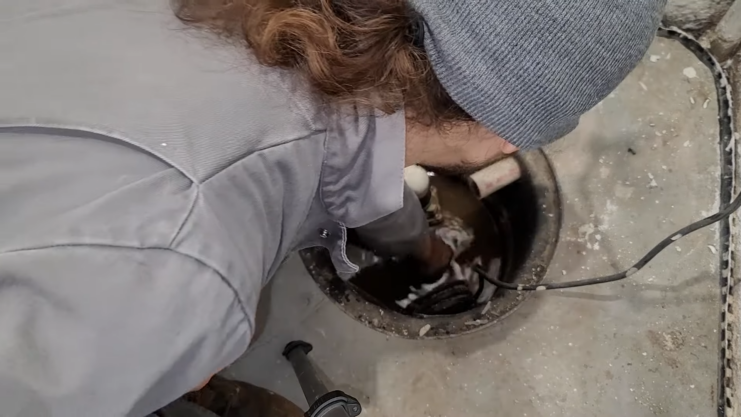
Thoroughly clean the basin, inlet screen, and all other components using a mix of vinegar and water. Removing that built-up sludge and grime isn’t just about appearances, it helps the pump operate at peak efficiency.
Cleaning Checklist
- Disconnect Power: No one wants a shocking experience.
- Clean Basin: Use a vinegar-water mix.
- Scrub Inlet Screen: Remove debris.
- Remove Sludge and Grime: Keep everything spotless.
Always Disconnect Power
I always make sure to disconnect the pump from power before I start messing around with it. It may seem like a no-brainer, but you’d be shocked how many people skip that crucial first step and end up in a world of hurt later on. It’s just not worth the risk.
Inspect for Wear and Tear
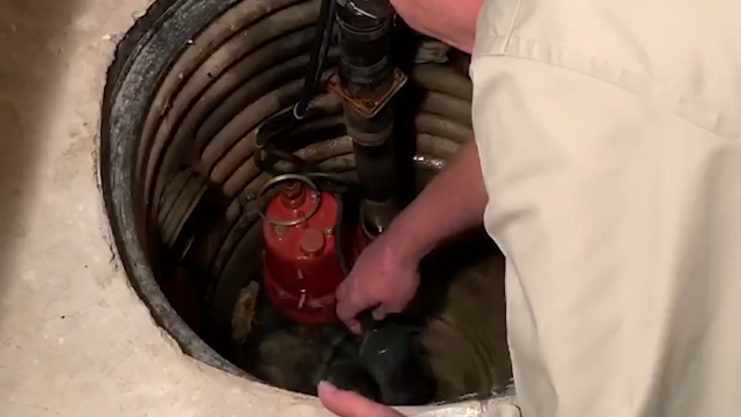
As I inspect this system, I’ll keep an eye out for any signs of corrosion or faulty parts, particularly around the battery, float switch, and inlet screen.
If anything seems off or concerning to me, I won’t hesitate to replace it. It’s better to address potential issues proactively before they escalate into more significant problems down the line.
Lubricate Bearings
If you find that the pump has unsealed bearings, you’ll need to lubricate them according to the manufacturer’s recommendations. The details should be in your pump’s user manual, so make sure to follow those instructions closely.
No point in trying to improvise here – stick to the manufacturer’s guidelines to keep the pump running smoothly.
Discharge Area – Keep It Clear
I always make sure my discharge pipe is in good shape. It needs to be clear and allow water to flow freely. I make sure it’s discharging water at least 20 feet away from my home – if it’s not, that could spell trouble down the line.
Also, I stay on top of clearing any obstructions and ensure that the pipe is directing water away from my house properly. An unobstructed, properly functioning discharge pipe is crucial to avoid any issues.
Battery Backup
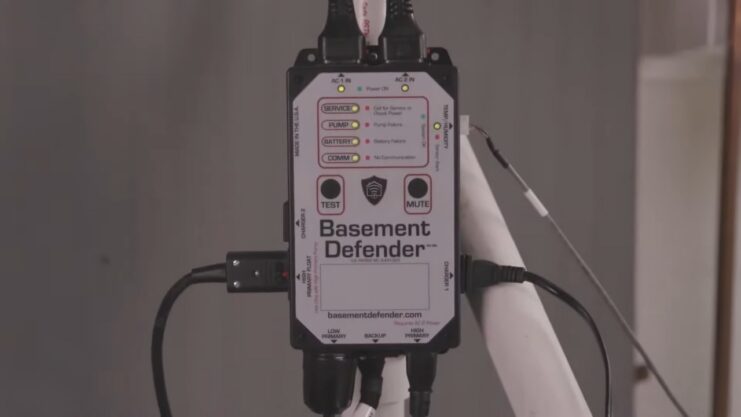
As someone who lives in a region that frequently experiences inclement weather and power disruptions, I’ve found it beneficial to have a battery backup system installed for my pump. It’s a simple precaution that can save a lot of headaches down the line.
To test the battery’s functionality, I make it a habit to unplug the pump periodically. If the backup kicks in as it should, I know everything is working as intended. But if there’s no response, it’s time to investigate further or consider replacing the battery so that the system remains reliable, even when the main power goes down.
It’s a small investment that provides valuable peace of mind, especially during those unpredictable storms or outages.
Re-testing the Pump Is the Final Check
After taking care of all that maintenance stuff, I reconnected everything and double-checked the power. Time to test out the pump again by triggering the float switch.
If it’s all working smoothly, then we’re good to go! But if not, well, looks like there’s more work ahead of us.
Common Problems and Solutions
1. Pump Does Not Turn On
- Low Water Level: Nothing to pump, nothing happens.
- Blown Fuse/Tripped Circuit Breaker: Check electrical connections.
- Inlet Valve Clogs: Clear it out.
2. Pump Does Not Shut Off
- Float Switch Issue: Check and fix the float switch.
- Discharge Pipe Obstructions: Clear the pipe.
3. Frequent Starts and Stops
- Undersized Pump: Upgrade your pump.
- Obstruction in Discharge Pipe: Clear it out.
When to Replace Your Sump Pump
The average lifespan of a sump pump is about 10 years. Replace it if:
- The motor is faulty.
- It stops pumping water.
- It becomes noisy, rusty, or smelly.
The Annual (or Quarterly) Ritual
For those in high rainfall or snowy areas, inspect and maintain your sump pump quarterly. For everyone else, annual maintenance will suffice.
Maintenance Steps Recap
- Clear the Sump Basin: Unplug and remove debris.
- Inspect and Clean the Pump: Disconnect the discharge pipe and clean.
- Clean Inlet Screen: Scrub away debris.
- Lubricate Bearings: If necessary, per the manual.
- Inspect Discharge Pipe: Ensure it’s unclogged and directs water away.
- Test the Pump: Reinstall, pour water, and check operation.
Final Thoughts
Ensuring your sump pump is in optimal condition is not solely about averting a flooded basement, it’s also about cultivating a sense of security. Regular household checks, such as testing your smoke alarms, also contribute to this sense of safety.
Getting used to routine maintenance can shield you from expensive fixes and unpleasant shocks.
So, cease procrastinating, dedicate the necessary attention to your sump pump, and enjoy the peace of mind that comes with knowing your basement is protected from water damage.
