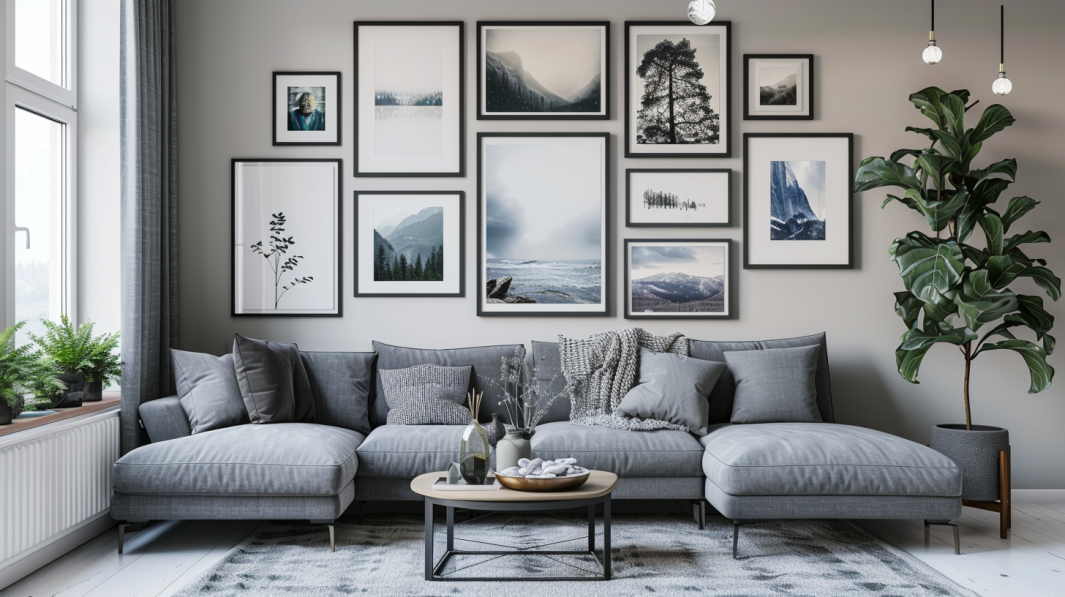
So, you’ve got a blank wall staring back at you, mocking your empty design skills, and you’re ready to throw in the towel and buy some mass-produced, soul-sucking wall art. Stop right there. What you need is a gallery wall.
It’s personalized, creative, and doesn’t require a PhD in interior design to execute. More importantly, a gallery wall is a fantastic way to add character to any room.
The best part is that it doesn’t matter if you’re in a shoebox apartment or a sprawling mansion, a collection of framed prints, photos, and memorabilia can turn any blank space into a visual feast. In this post, I will explain how to build one, and to do so properly.
The No-Rules Rule
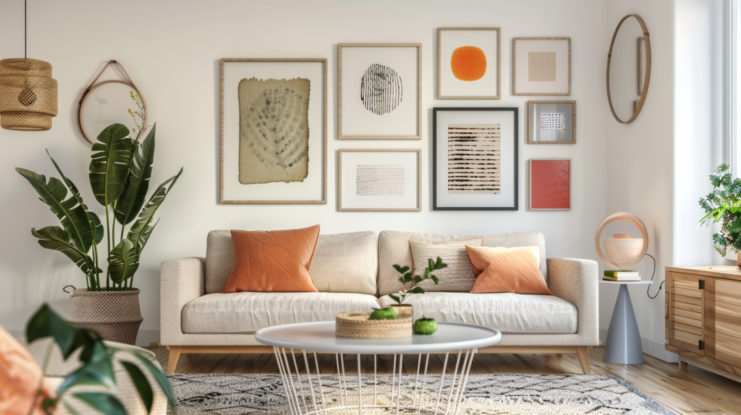
When it comes to creating a gallery wall, the good news is that there really aren’t any hard-and-fast rules you have to follow. It’s all about art, not some stuffy set of equations.
So feel free to mix and match your pieces, go for an asymmetrical layout, or even do a full-on grid if that’s your style. The main thing is to just let your creativity shine through and have fun with it.
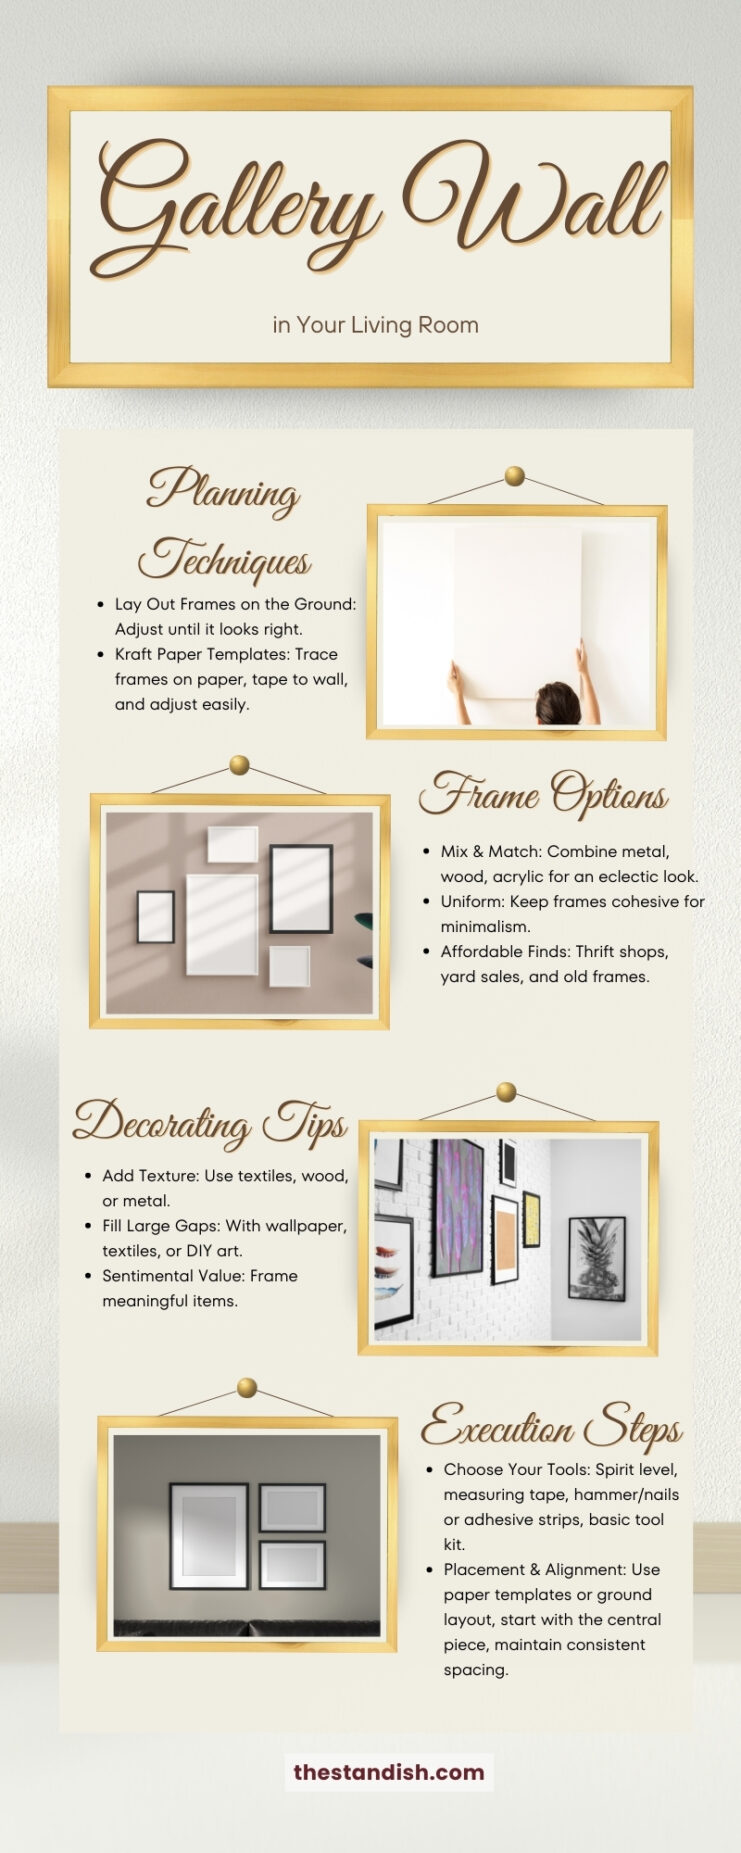
Planning Techniques
Option 1: Lay Out Frames on the Ground
- Spread out your collection on the floor and play around with the layout until it looks right.
Option 2: Kraft Paper Templates
- Trace the outlines of your frames on kraft paper, cut them out, and tape them to the wall. This way, you can move them around without hammering a hundred unnecessary holes.
Styles and Arrangements
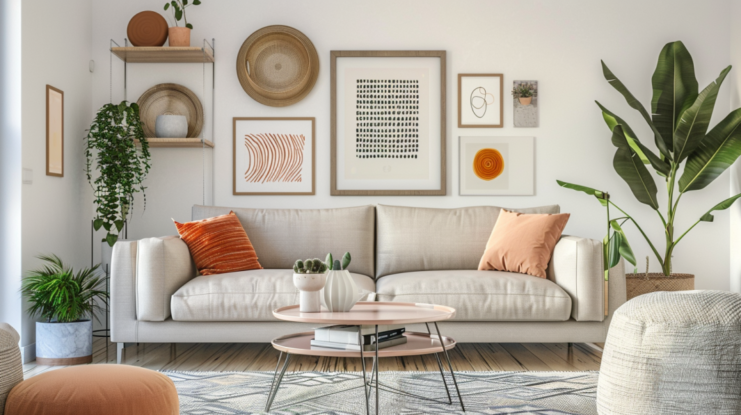
The name of the game is to make it feel like an extension of your personal style. Are you more of a laid-back, mix-and-match kind of person? Or do you lean towards a sleek, contemporary look?
The great thing is, there’s no one-size-fits-all approach – you get to decide what vibe feels most “you” and roll with that.
Arrangement Options
- Symmetrical: Neat freaks, this one’s for you. Frames aligned in perfect harmony.
- Long Row: Ideal for narrow spaces like hallways.
- Grid: Nothing says “I’ve got my life together” like a perfect grid.
- Angular: For those who live on the edge, literally and figuratively.
Frame Options
Frames come in all shapes and sizes. You can absolutely mix and match different materials – metal, wood, acrylic, the whole nine yards. It makes for a really eclectic, one-of-a-kind look.
But if you’re more of a minimalist, you can also keep things uniform and cohesive. There’s no right or wrong way to do it, because the most important rule is to express your personal style.
The Hunt for Frames and Art

There is no need to break the bank on frames. You can find all sorts of hidden gems at thrift shops, yard sales, and by breathing new life into old frames you have lying around. And if you’re aiming for a more cohesive look, there are even handy gallery wall frame sets you can snatch up.
When you’re furnishing a cozy living room on a budget, these cost-effective frame options can add a personal touch without overspending.
Keep an open mind and think creatively. You’d be surprised what you can discover with a little digging and elbow grease. Why shell out a ton when you can score unique, personalized frames for a fraction of the cost?
Aside from getting creative points from your guests, you will also know that your room has that unique gallery no one else has. You’ll be amazed just how much pride this can bring.
Decorating Tips
- Texture: Use textiles, wood, or metal to add depth.
- Large Gaps: Fill them with wallpaper, textiles, or DIY art.
- Sentimental Value: Incorporate items with meaning. Grandma’s embroidered napkin? Frame it.
Execution Time
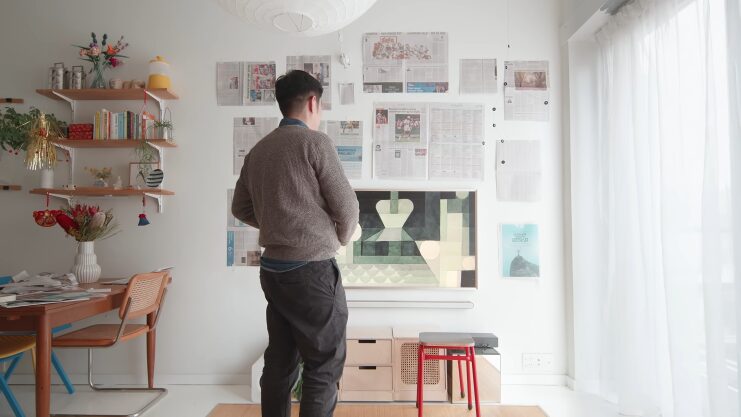
You’ve gathered your pieces, planned your layout, and now it’s time to hang. Here’s the process, step-by-step.
Step 1: Choose Your Tools
- Spirit Level: Because no one likes crooked art.
- Measuring Tape: Essential for spacing consistency.
- Hammer and Nails or Adhesive Strips: Depending on your wall type and rental agreement.
- Basic Tool Kit: Tools every homeowner should own for various small repairs and projects.
Step 2: Placement and Alignment
- Use your paper templates or the layout you did on the ground as a guide.
- Start with the central piece and work your way out.
- Keep consistent distances between frames for a cohesive look.
Personalize and Evolve
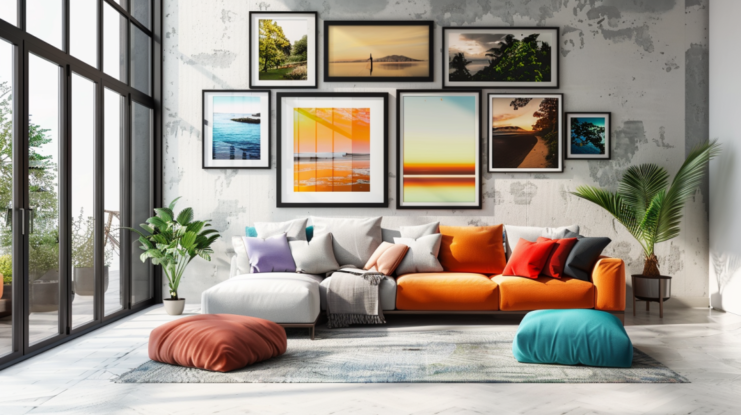
Gallery walls are things that aren’t meant to be set in stone. They’re like living, breathing things that should change with the seasons or whenever the mood strikes your fancy. Swapping out pieces keeps it feeling fresh and really captures your current vibe.
Affordable and Gradual Build
Building up a gallery wall is actually pretty fun – you can take your time with it and add new pieces whenever you feel like it. That way, you can spread out the cost instead of dropping a ton of cash all at once.
Don’t be afraid to get creative and use stuff you already have lying around the house. Maybe you’ve got some old paintings or photos you can frame up, or you could even try your hand at making your own artwork. The options are endless, so just go with whatever speaks to you.
Final Words
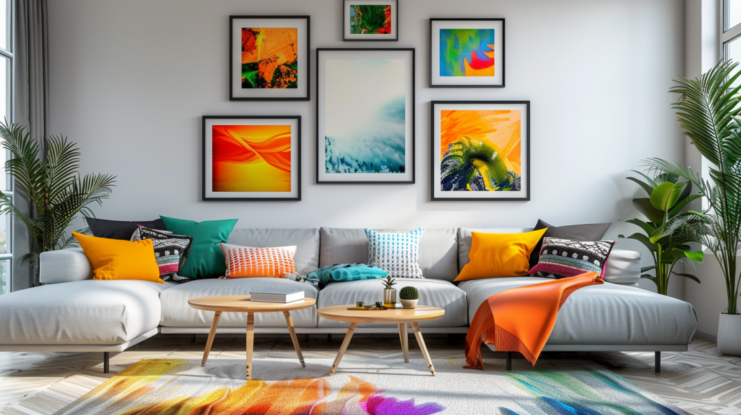
Creating a gallery wall is such a cool way to add some real personality to your living space. It’s super flexible and personal – you don’t need to be a design pro to pull it off. With a little bit of planning and a creative touch, you can turn any plain old wall into a showcase of your unique style.
And honestly, it’s way more fun than just staring at a blank, boring wall, wondering why you didn’t do this sooner. So go ahead, grab those picture frames, dig out all those cool prints and art you’ve been meaning to display, and start planning out your gallery wall.
Your living room is gonna be pumped when you’re done. And who knows, you might even end up enjoying the process – it can be pretty satisfying bringing your vision to life on the wall.
